This week I worked on creating 3 point lighting using Autodesk Maya and Arnold.
Lighted Characters

Lighted Lego Project
To start this project I worked with three different models and included my own Lego model from the Lego project. To start my project I imported the four different models and created an aiAreaLight, point light, and an aiSkyDomeLight. The first light I set up was my aiAreaLight which is my key light. I scaled it and rotated it into position. I then went into the attribute editor and adjusted the intensity and shadow drop off.

Adding AiArea Light
Then I created aiSkydomeLight and put it's exposure to 1 and it's intensity to 0.050.

Adding AiSkydome Light
The last light I created was my point light. I added a light color to the point light and adjusted the intensity and exposure. I also turned off emit specular.

Adding Point Light
Then I created an aiStandardShader and applied it to my models. In the hypershade I created an aiAmbientOcclusion node and plugged it into the base. I then put the weight to 0.500 and gave the shader a subsurface.

Creating an AiStandard Shader
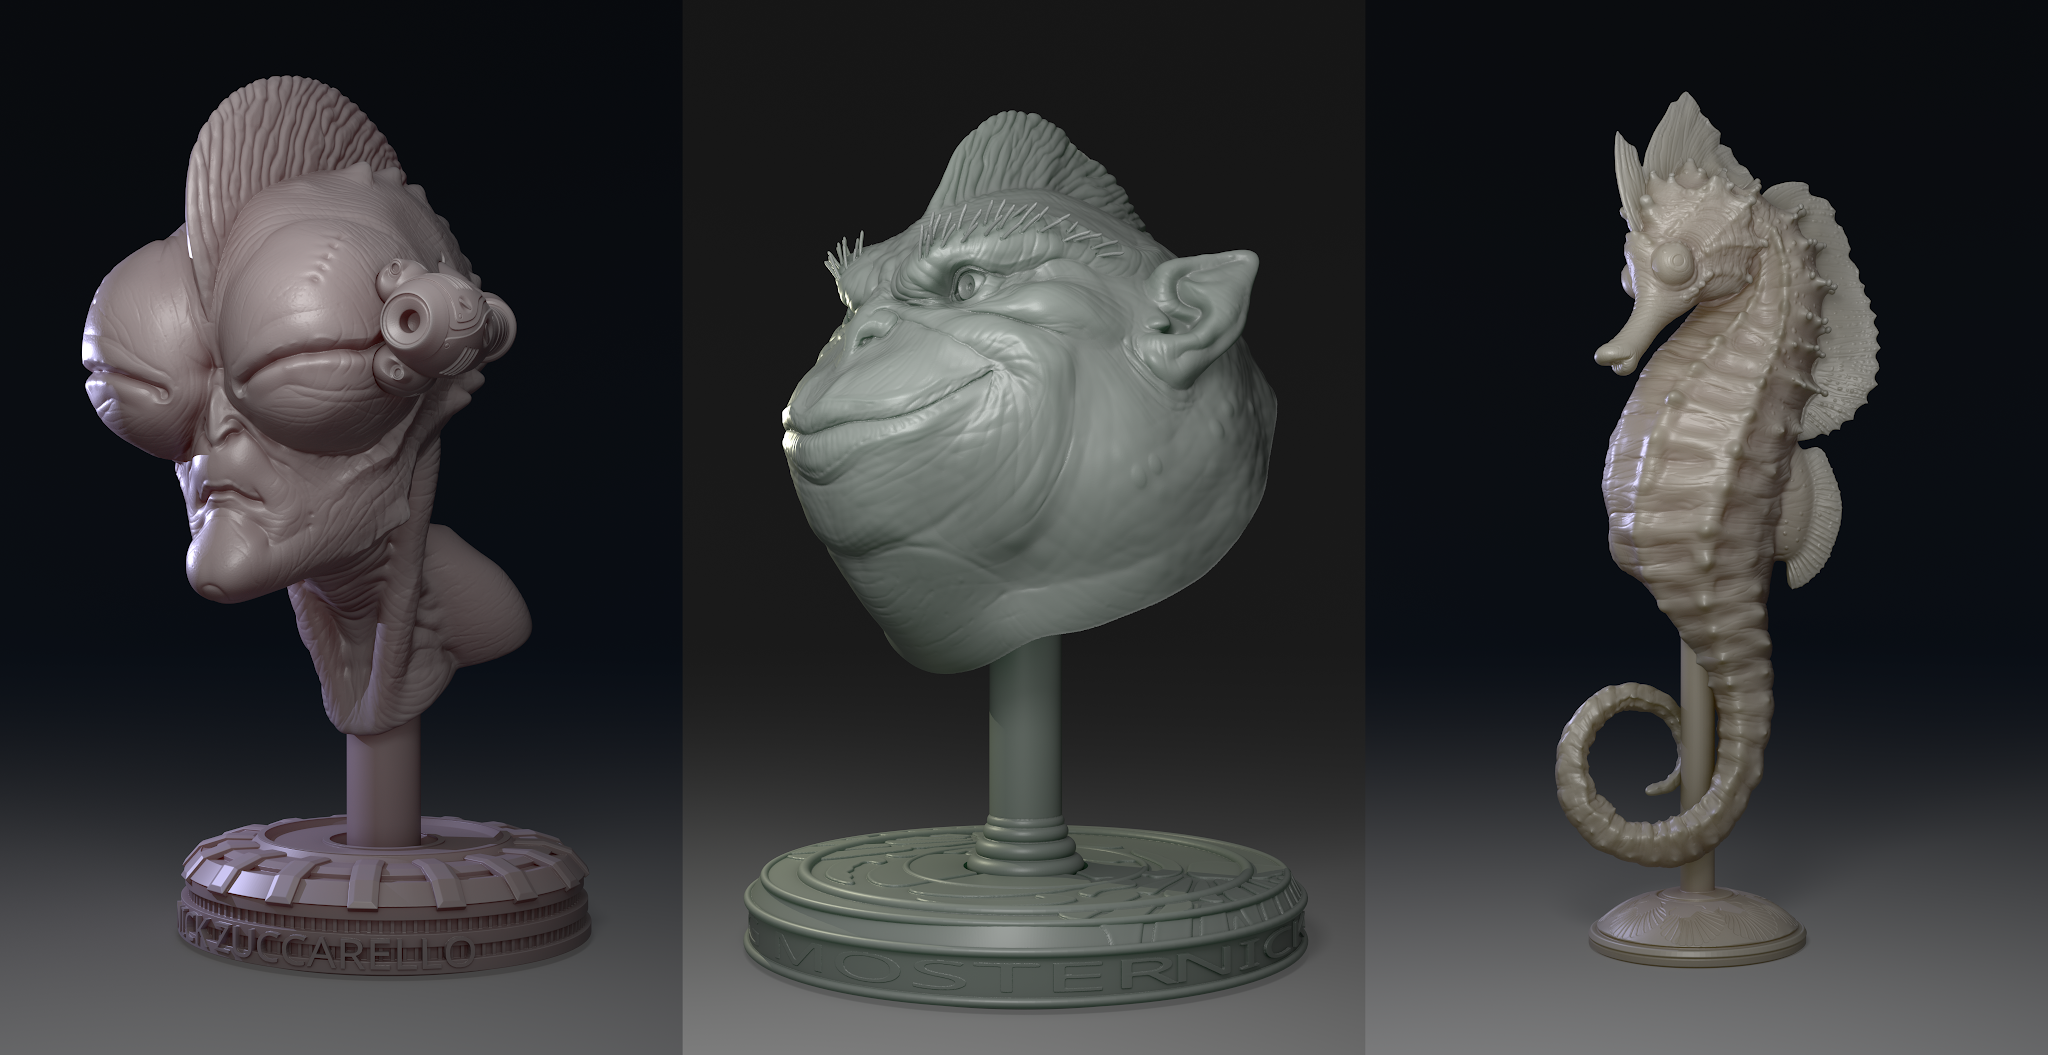
After creating my shader and applying it to my models, I created a camera to make renders for three different sides of the models except the Lego model because it is the same on most sides. I also added the posturize filter.

Posturize Render with Alien Character

Posturize Render with Sea Horse Character

Posturize Render with Character Face

Posturize with Lego Spaceship


No comments:
Post a Comment