For this sprint I continued to work on the phone asset and the rig for our shotgun. The goal for the phone is to have it be able to move and react based on what the phone base and the ear piece are doing. The first step to achieve this is to set up the cord, phone base, and ear piece and place them in the scene. This was taken in our dummy level before it was brought into our main level.

I began to work on the physics constraint between the cord and the phone static meshes. The physics constraint is located on the cord and takes two points it is connected to. The two points connected is the phone base and the ear piece. Once I connected the phone I made sure that the phone base did not have simulation turned on and that the ear piece did have simulation turned on

From here I tested to see how it would react to the environment. The connection between the phone base and the ear piece worked as expected, however the cord between the two did not stay connected and acted as it did in the previous sprint. aw

For the shotgun rig I did some simple joint placement, controller creation, and updates in unreal engine. I created an initial skeleton and ran some tests with parent constraints and some simple controllers to make sure the parts were moving properly with the joint placement.


Once I got an initial idea for the skeleton I made a folder within our rig folder for the shot gun and imported it so that the skeleton does exist in the project and is easy to update.

From here we noticed that one of the parts of the shotgun was connected to the main part of the shotgun instead of it's own piece so I went into UE4 and found the individual piece that was connected and exported it so I could bring it into the rigging file. I also Exported the main part of the shotgun do that it is disconnected. I also imported a shot gun shell as I will need to rig the shells coming out of the gun when it shoots.


To understand how a shotgun works and the mindset that goes into rigging weapons I did some research and I got ideas on how to rig the shotgun so that it looks correct. From our shotgun modeler I looked closely at a video he sent which explains how the shotgun works. Check out this shot gun video! I also looked at Simon Mills rig for a machine gun and listened to his logic and the way that he likes to think about rigging weapons. Check out Simon Mills machine gun video here! From here I then updated the rigging file and I updated a tool I am currently programing to help me create controllers quicker.
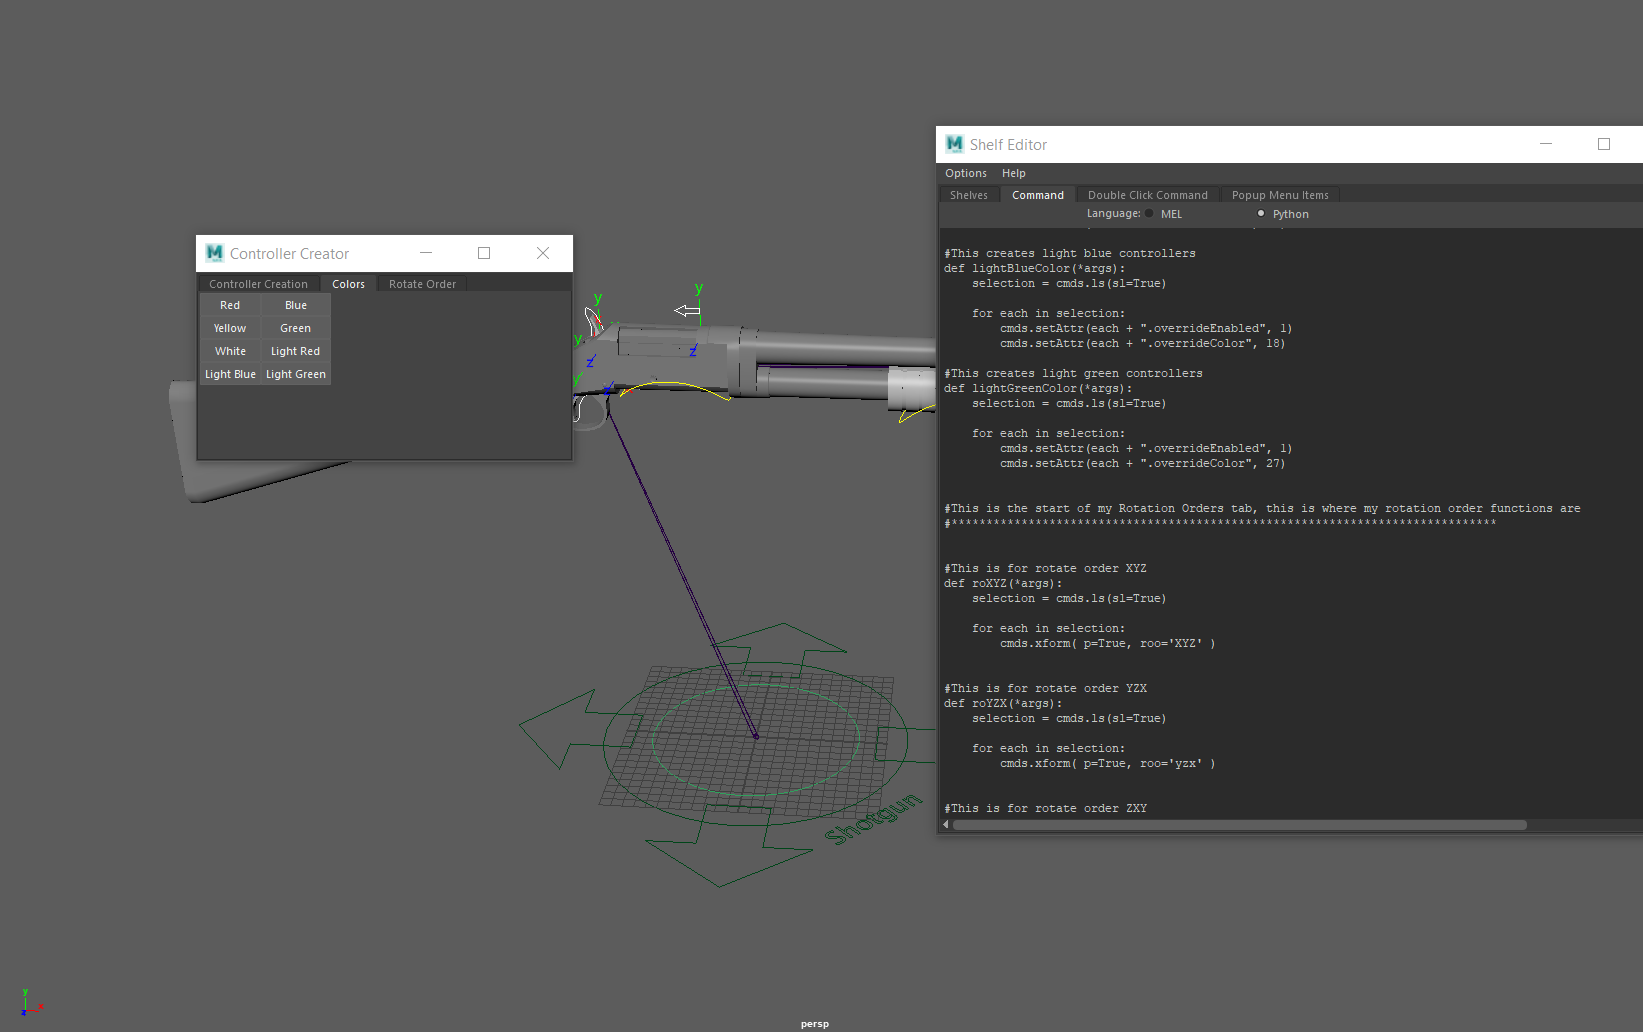
Once I updated my controller I skinned the shotgun to it's corresponding joints and used flooding so that it would have a mechanical feel when all the parts move. The big consideration here is the fact that on a shotgun everything is very mechanical and rigid. When the shot gun pump is moved the rest of the shotgun react to that in a series of mechanical steps.

Once I finished skinning the shot gun I updated it in unreal so that our other tech artist can also start to play around and test how it reacts in the scene. Other considerations for the shotgun rig is how much recoil movement I should build in the rig, how does ammo show when the player shoots and how much ammo will the player get, and if the shot gun can be taken apart.


No comments:
Post a Comment