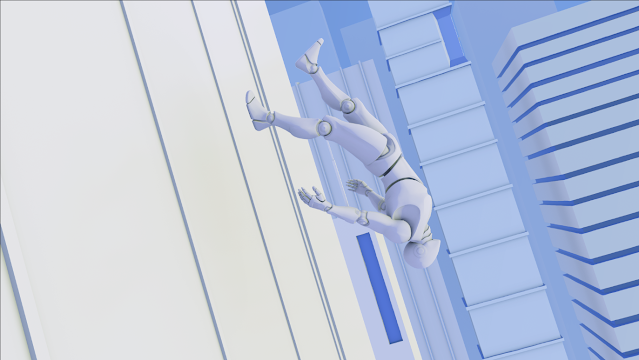
For this week I created a piece inspired heavily from the look of Mirror's edge. To start my project I created a PureRef for my references and payed close attention to how color was used. In Mirror's Edge there is a lot of different shades of blue to show depth while the main character is able to pop against the blue with her hints of red.
From here I brought everything into photoshop and used the different passes to create my fog, ambient occlusion and base colors. I used the same technique demonstrated in the previous assignments to set the stage for this piece.
I then began to hand paint in details in the midground buildings to give them a little bit of pop. I also added the sky behind all of the buildings with a color fill layers so that the background buildings can be seen.
From here I began to work on my character. because the mannequin is mechanic looking I created a design that gives him some more mechanical areas. I used a dark grey and red to pop him out from the background and left the color fill color as his main color to fil the other areas. For the extra design elements I hand painted them onto the mannequin.
For the last part I worked on the foreground building. The foreground building was difficult because I did hand paint over it and finding where the extrusions are became very difficult since they do blend in with where the windows are. I colored in where I thought the windows were and made each window lighter as they got further away. On top of creating different shades of blues for each window I also made a ground with the window pieces and made a gradient that went over all the pieces to blend them together.
To make the window more interesting I created some white lines that show the perspective and give the building a little design. I also added a second gradient that effects the extruded parts so that they get lighter the further away they are. Lastly I added a slight reflection of the character in the windows. Using my ID map I selected the character and gave him a grey fill color. I then used transform to flip him over the horizontal axis and then distort it a little bit. One I got the placement for the reflection I used the opacity and then used the gaussian blur filter to create it's final look.


No comments:
Post a Comment